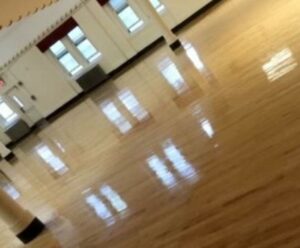
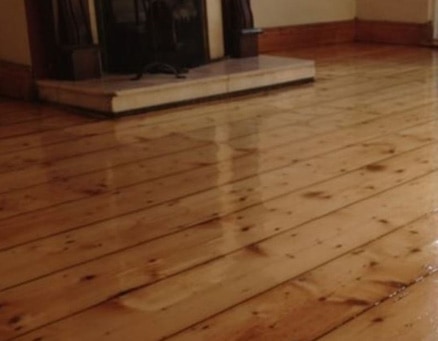
We always find ways on how to innovate and make things look better. With regards to floor sanding, it will be exciting to see some improvements after years of tearing down the wood. Just imagine, we have the opportunity to change how it looks and make it better with lesser cost!
Shown below is the process on how we can restore your wood floors to make it look new.
Stage 1: Repair & Restoration
To make repairs, we need to check every parts of the wood to see if
some needs replacements. Some parts of the floor could have
been damaged through time or simply because of the weight of
the furniture placed above it. Also, it highly depends on what kind
of would you use, is it long lasting or not?
Stage 2: Filling the Gaps in between
Let’s face it, even machine cut wood doesn’t have the same actual
size. Also, at some point, some wood shrink in size making it little
than the rest. To fill in the gaps, we use mix of resin with saw dust.
It is advisable to fill the gaps with something natural, like saw dust.
Stage 3: Sanding – Stripping – Buffing
After filling all the gaps, and making sure all the wood parts are
okay, it’s now time to strip the floor coating. Some use oil & wax,
others prefer varnish. But either way, it needs to be removed.
Buffering seems to look like doing a vacuum work but the different
is that it has a round scrubbing pad beneath that smoothen the
surface of the floor.
Stage 4: Coating
This is the critical part of the process becomes it is the final thing
to do and it requires decision making from the client. The client
needs to choose how to coat the floor and what color to use
especially for the varnish. Either the client choose the same color
or choose a different one just for a change. Coating is the process
of doing the finishing touches in the floor recovery.


